
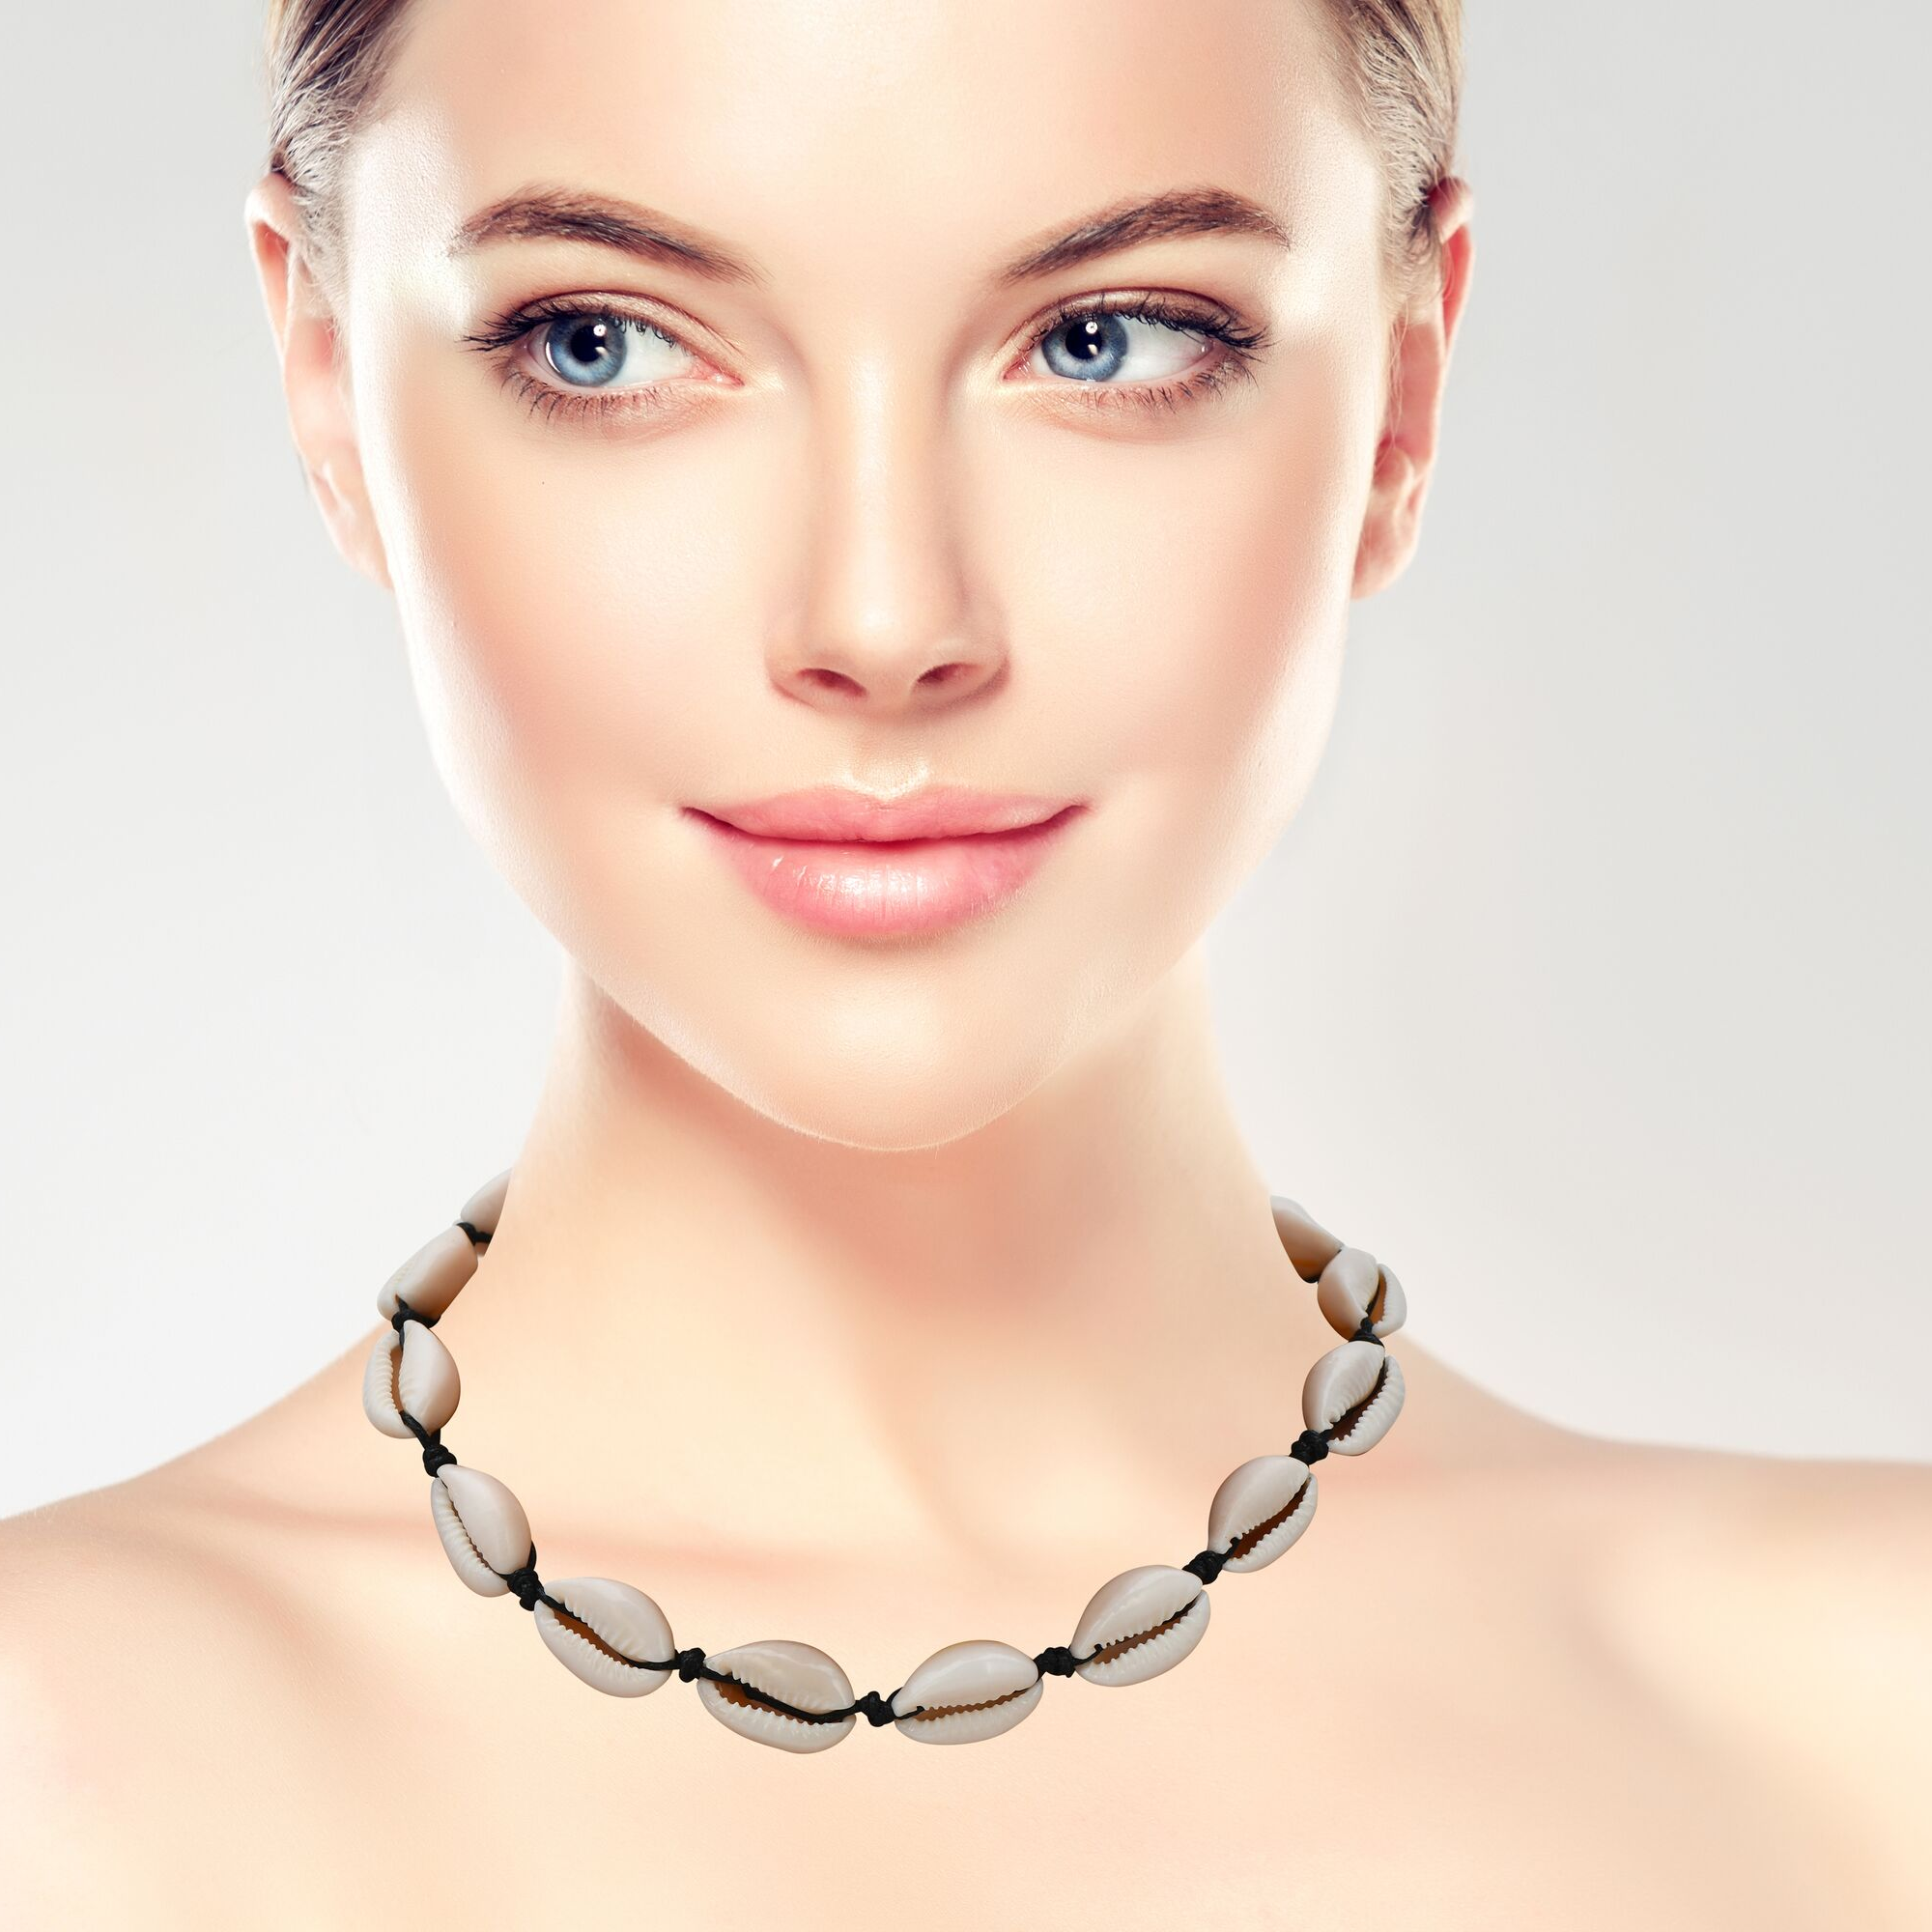
In the world of jewelry, there is an art that goes beyond simple adornment. It involves carefully tying each knot, stringing each shell with intention, and creating something that is not just a piece of jewelry, but a reflection of individuality and style. This art is known as the creation of custom cowrie necklaces. With the timeless elegance of cowrie shells and the versatility to be worn on any occasion, these necklaces have become a symbol of tradition and meaning. At Upsera, we invite you to dive into the beauty of our cowrie necklace collection and experience the art of knotting firsthand.


Choosing Cowrie Shells
When it comes to creating custom cowrie necklaces, selecting the right cowrie shells is essential. There are various types of cowrie shells to choose from, each with its own unique characteristics. Some popular options include Tiger cowries, Brown cowries, Speckled cowries, and Money cowries.
Types of Cowrie Shells
Tiger cowries are known for their striking patterns, with black spots against a yellow or white background. Brown cowries, on the other hand, have a rich, deep brown color and a smooth surface. Speckled cowries feature small specks or dots on their shells, giving them a distinct and eye-catching appearance. Money cowries, as the name suggests, are historically known as a form of currency and have a smooth, glossy shell with a creamy off-white color.
When selecting cowrie shells, it's important to consider the overall look and feel you want to achieve with your necklace. Different types of shells can complement various styles and aesthetics, so take the time to explore your options and choose shells that speak to you and your personal style.
Considerations for Selecting Cowrie Shells
In addition to the type of shell, there are a few other factors to consider when choosing cowrie shells. One important consideration is the size of the shells. Cowrie shells come in a range of sizes, from small petite shells to larger statement pieces. Think about the scale of your necklace and how the shells will fit together when making your selection.
Another aspect to consider is the color of the shells. While each type of cowrie shell has its natural color, some shells can be dyed or painted to create unique and vibrant hues. If you're looking to incorporate color into your necklace, consider shells that have been treated or explore adding beads or charms to enhance the overall design.
Lastly, assess the quality of the shells. Look for shells that are intact without any cracks or chips. Consider the texture of the shells as well. Some may have a smoother surface, while others may have more texture or natural imperfections that add character to the piece.
Tools and Materials Needed
Before diving into the knotting process, it's important to gather all the necessary tools and materials. Here's a list of items you'll need to create your custom cowrie necklace:
String or Cord
Choose a strong, durable string or cord that is suitable for knotting. Nylon or waxed cotton cords are popular options. Consider the color of the cord, as it can complement or contrast with the color of the shells you've chosen.
Cowrie Shells
Select the cowrie shells you wish to use in your necklace, keeping in mind the types and considerations mentioned earlier. Make sure you have enough shells to create the desired length and pattern.
Scissors
A pair of scissors will come in handy for cutting the string or cord during the knotting process. Choose a sharp pair that will easily cut through the material without fraying or damaging it.
Measuring Tape
To ensure your necklace is the desired length, use a measuring tape to accurately measure and cut your string or cord. This will help you achieve consistent spacing between the shells and a balanced overall design.


Preparing the Cowrie Shells
Before you begin knotting your cowrie necklace, it's crucial to properly prepare the shells. This involves cleaning the shells and drilling holes in them for attachment.
Cleaning the Shells
Cowrie shells may accumulate dirt, debris, or natural residues. To clean your shells, gently wash them with mild soap and warm water. Use a soft brush to remove any stubborn dirt or debris. Be careful not to scrub too hard and damage the shells. Rinse the shells thoroughly and pat them dry with a clean towel.
Drilling Holes in the Shells
In order to attach the shells to the cord, you'll need to create holes in them. Using a small handheld drill or a jewelry drill, carefully drill a hole through the natural opening of each shell. Make sure the hole is large enough to allow the cord to pass through easily without damaging the shell. Take your time and exercise caution while drilling to avoid any accidents or damage to the shells.
Understanding Different Knotting Techniques
Knotting techniques play a significant role in creating a beautifully crafted cowrie necklace. There are both basic and advanced knotting techniques that you can choose from, depending on your preference and the complexity of the design you have in mind.
Basic Knotting Techniques
The basic knotting technique most commonly used for cowrie necklaces is the square knot or the double square knot. This involves crossing the left cord over the right cord and then passing it under the right cord to create a knot. Repeat the process in reverse, crossing the right cord over the left and passing it under to create another knot. This technique creates a neat and symmetrical pattern.
Another basic knotting technique is the lark's head knot, often used to attach shells or beads to the cord. This involves folding the cord in half and passing the folded end through the hole of the shell. Then, pass the loose ends of the cord through the folded loop and pull them tight to secure the shell in place.
Advanced Knotting Techniques
For those looking to create more intricate designs, there are several advanced knotting techniques to explore. One popular technique is the macramé knotting technique, which involves creating patterns and textures by interweaving multiple cords. This technique allows for more creativity and versatility in designing your cowrie necklace.
Tassel-making techniques can also be incorporated into your necklace design to add a unique touch. This involves knotting and trimming cords to create decorative tassels or fringe, adding movement and visual interest to the overall piece.

Planning the Necklace Design
Before you start knotting your cowrie necklace, spend some time planning the design. This will ensure a more cohesive and visually appealing finished product. Consider the following aspects when planning your necklace design:
Choosing the Necklace Length
Determining the desired length of your necklace is an important first step. Think about whether you want a shorter, choker-style necklace or a longer, more bohemian-inspired necklace. Use a measuring tape to experiment with different lengths and find the one that best suits your style and preference.
Deciding on the Pattern
The pattern of your cowrie necklace can be as simple or complex as you like. You can choose to have all the shells evenly spaced or create a more random arrangement. Experiment with different patterns and layouts to find the one that appeals to you. Consider incorporating other elements such as beads or charms to enhance the overall design.
Sketching the Design
Once you have an idea of the necklace length and pattern, it can be helpful to sketch out your design on paper. This will allow you to visualize how the shells will be positioned and ensure that the spacing and arrangement are to your liking. It can also serve as a reference point throughout the knotting process.
Starting the Knotting Process
Now that you have a clear plan in mind, it's time to start knotting your custom cowrie necklace. Begin with the first shell and create the initial knot to anchor the necklace.
Attaching the First Shell
To attach the first shell, use one of the knotting techniques mentioned earlier, such as the lark's head knot. Pass the folded end of the cord through the hole of the shell and then pull the loose ends of the cord through the folded loop. Pull tight to secure the shell in place.
Creating the First Knot
With the first shell in place, it's time to create the first knot. Choose your desired knotting technique, such as the square knot or double square knot, and follow the steps to create the knot just below the first shell. This will ensure that the shell remains securely in place and provide a starting point for the rest of the necklace.
Continuing the Knotting Process
Once you have attached the first shell and created the first knot, continue the knotting process to add more shells and achieve the desired length for your necklace.
Adding More Shells
To add more shells to your cowrie necklace, simply repeat the process of attaching the shells using the chosen knotting technique. Pass the cord through the hole of each shell, creating knots below each one to secure it in place. Be mindful of the spacing between the shells, ensuring they are evenly distributed and visually balanced.
Maintaining Consistent Spacing
To maintain consistent spacing between the shells, use a measuring tape to measure the desired distance between each shell. This will help create a uniform and visually pleasing design. Additionally, you can use small knots or beads between the shells to act as spacers, adding an extra touch of detail and enhancing the overall aesthetic.
Creating Adjustable Length
Having an adjustable length for your cowrie necklace allows for versatility and ensures a comfortable fit. There are a couple of techniques you can use to achieve an adjustable length.
Using Sliding Knots
One option is to incorporate sliding knots into your necklace design. Sliding knots allow you to easily adjust the length of the necklace by sliding the knots along the cord. To create a sliding knot, fold the cord in half and create a loop at the desired length. Pass the loose ends of the cord through the loop and pull them tight to secure the sliding knot.
Adding Extender Chains
Another option is to add extender chains to your cowrie necklace. Extender chains are small chains with a clasp that can be attached to one end of the necklace. This allows you to adjust the length by clasping the chain at different points. Simply attach the extender chain to the end of the necklace using jump rings, and you'll have the flexibility to wear the necklace at various lengths.
Finishing Touches
Once you have reached the desired length for your cowrie necklace, it's time to add the finishing touches to ensure a polished and professional look.
Securing the Last Shell
To secure the last shell in place, use the same knotting technique you've been using throughout the necklace. Create a knot just below the last shell to prevent it from sliding off or becoming loose over time. This will ensure that your cowrie necklace remains intact and beautifully crafted.
Trimming Excess Cord
After securing the last shell, carefully trim any excess cord using a pair of scissors. Be sure to leave enough cord to accommodate any adjustments or sliding knots if you have incorporated them into your design. Trim the cord as close to the knot as possible to maintain a clean and neat appearance.
Adding Personalized Elements
To make your cowrie necklace truly unique, consider incorporating personalized elements that reflect your individual style and personality.
Incorporating Beads or Charms
Adding beads or charms to your cowrie necklace can enhance the overall design and add a personal touch. Choose beads or charms that complement the shells and the color scheme of the necklace. You can incorporate them between the shells as spacers or as accents at the ends of the necklace.
Using Different Colored Cords
Another way to personalize your cowrie necklace is by using different colored cords. Experiment with different cord colors to create a unique and eye-catching design. You can choose complementary colors or opt for a bold contrast to make a statement. The choice of cord color can significantly impact the overall look and feel of the necklace, so have fun exploring different options.
In conclusion, creating a custom cowrie necklace is an art form that allows you to express your creativity and style. By selecting the right cowrie shells, understanding different knotting techniques, and planning the necklace design, you can create a beautiful and unique piece of jewelry. With a few simple tools and materials, you'll be on your way to crafting a cowrie necklace that is not only a stunning accessory but also a reflection of your individuality and personal taste.

Leave a comment